hello 大家好我是Monday,今天给大家带来一篇关于简单介绍使用 使用Nexus搭建PyPi私服及上传
的文章。
1.下载nexus压缩包
一、下载nexus压缩包
(1)官方地址
https://www.sonatype.com/nexus-repository-oss
(2)下载地址
https://help.sonatype.com/repomanager3/product-information/download
(3)其他下载源
链接:https://pan.baidu.com/s/1Cdo4kNpcv__cHmhtD1RMig
提取码:3pqx
以下测试,我已windows电脑作为开发环境
二、安装nexus压缩包
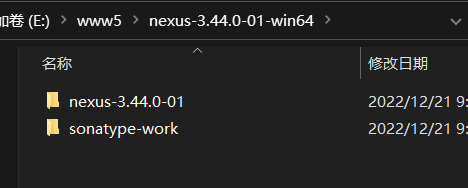
(1)解压nexus-3.44.0-01-win64.zip压缩包
(2)进入nexus-3.44.0-01-win64\nexus-3.44.0-01\bin目录下用命令行执行下面命令
1 | .\nexus.exe /run |
端口号设置在文件:解压目录\nexus-3.44.0-01\etc\nexus-default.properties
里面的application-port属性
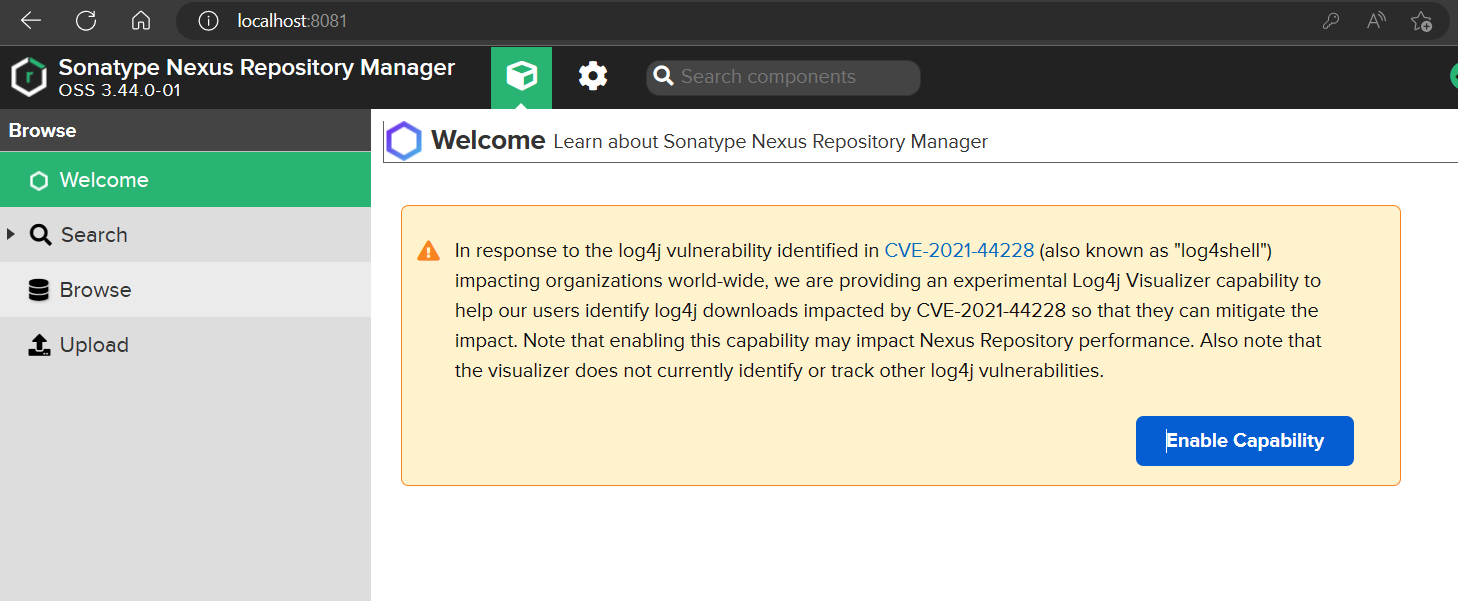
(3)在浏览器输入:localhost:8081
admin初始密码在文件:解压目录\sonatype-work\nexus3\admin.password
该版本第一次登陆会要求修改admin密码
登录后的页面如下:
三、配置pypi的仓库
大概具体步骤如下:
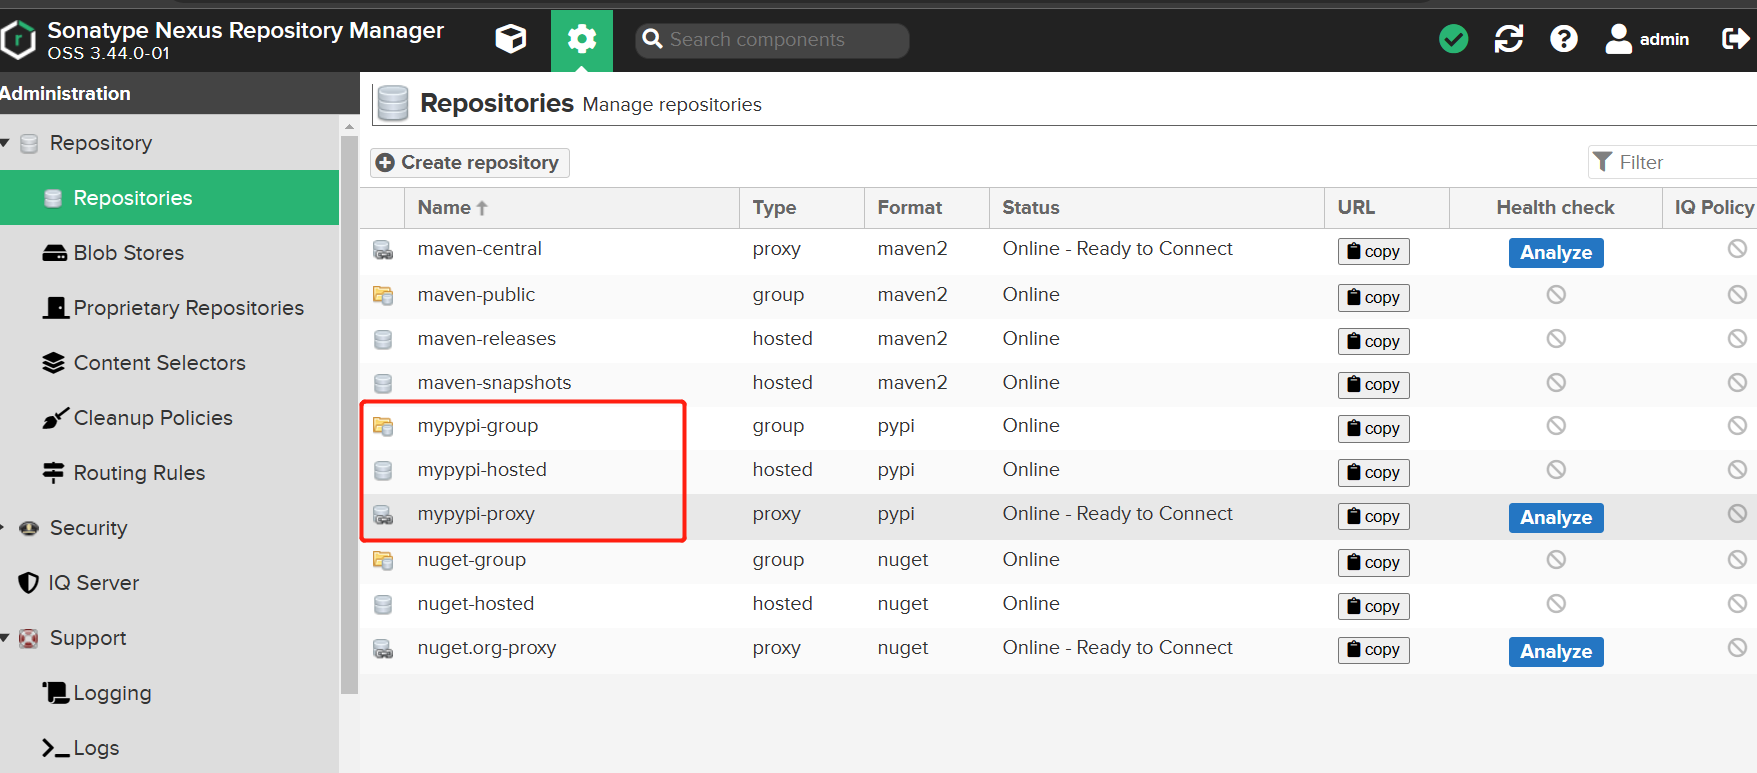
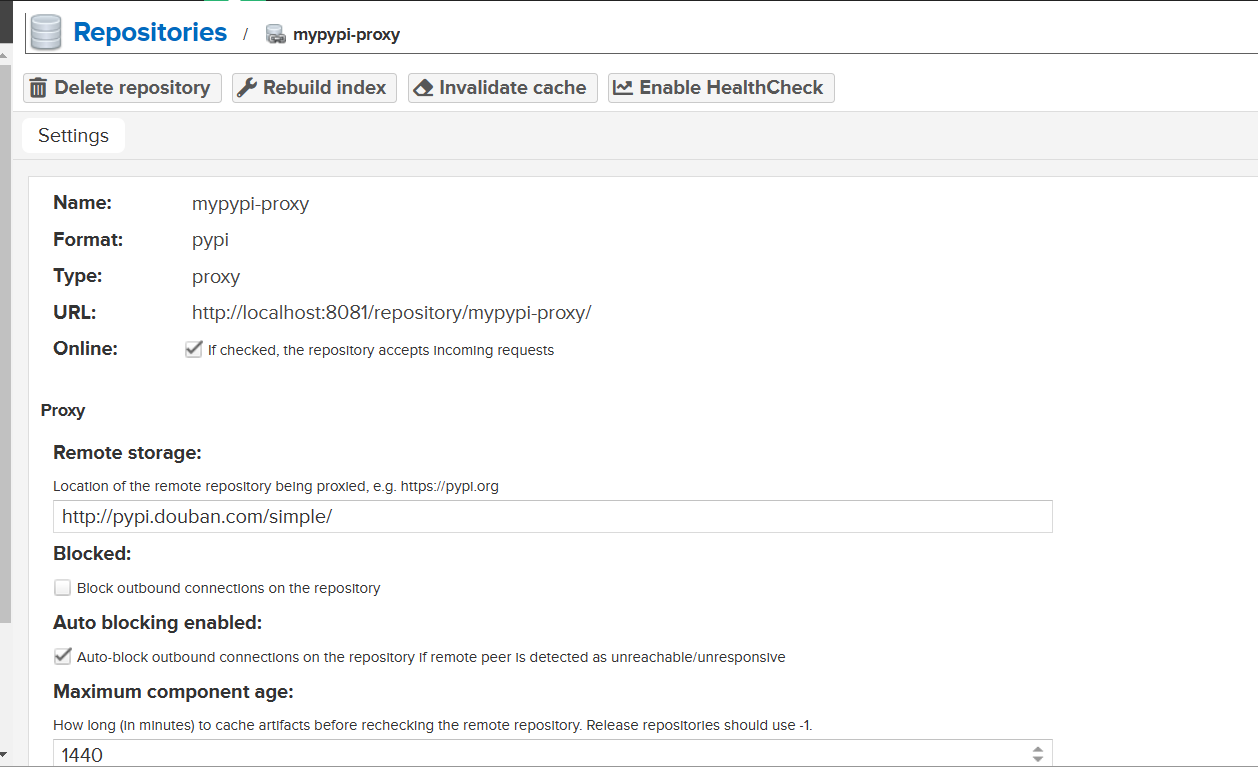
建立官方代理仓库 mypypi-proxy
填写远程索引地址时用 https://pypi.python.org/ , 不要用 https://pypi.python.org/pypi .
建立 hosted 仓库,用于内部使用 mypypi-hosted
建立 group 仓库把官方代理和 hosted 仓库包含进来 mypypi-group
其中:代理库的代理配置,也可以换成阿里云的地址:http://mirrors.aliyun.com/pypi,
总共三个仓库:
他们的区别是:
proxy – 远程仓库的代理,当用户向这个仓库请求一个 artifact,他会先在本地查找,如果找不到的话,就会从远程仓库下载,然后返回给用户
hosted – 宿主仓库,用户可以 deploy 到 hosted 中,也可以手工上传构件到 hosted 里,在 central repository 是获取不到的,就需要手工上传到hosted里
group – 仓库组,将上述多个仓库聚合,对用户暴露统一的地址
代理仓库的配置:
使用
到 http://localhost:8081/#admin/repository/repositories 找到自己的仓库,点进去copy仓库的url
在客户端使pip安装
注意:要在仓库地址后面加/simple
1 | pip install requests -i http://localhost:8081/repository/mypypi-proxy/simple |
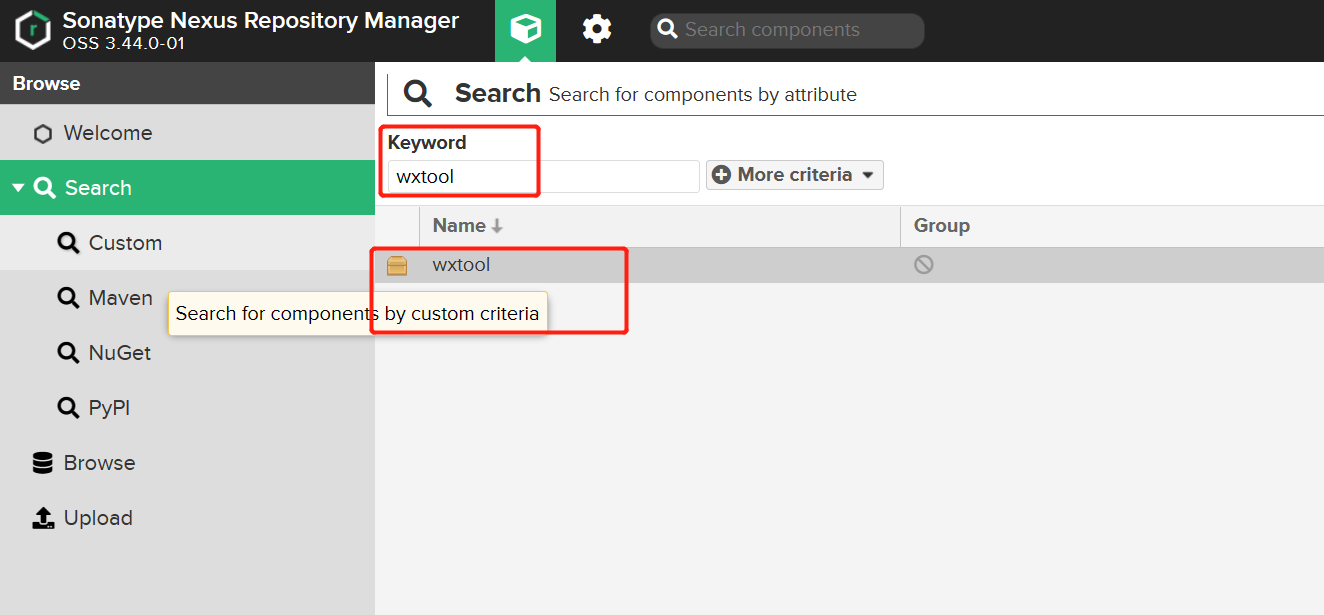
访问 http://localhost:8081/#browse/search/pypi 就能查到从官方仓库下载下的模块
四、先打包本地项目 主要是两步,打包、发布
上传配置
在用户根目录下添加.pypirc文件。
- windows 用户目录:C:\Users\XXX.pypirc
- linux用户目录:/home/XXX/.pypirc
在用户根目录下添加.pypirc文件,添加如下配置:
1 | [distutils] |
(1)安装python的twine包
https://pypi.org/project/twine/
1 | pip install twine |
(2)上传命令
1 | twine upload -r nexus dist/* # -r 可以选择仓库地址 |

界面上传:
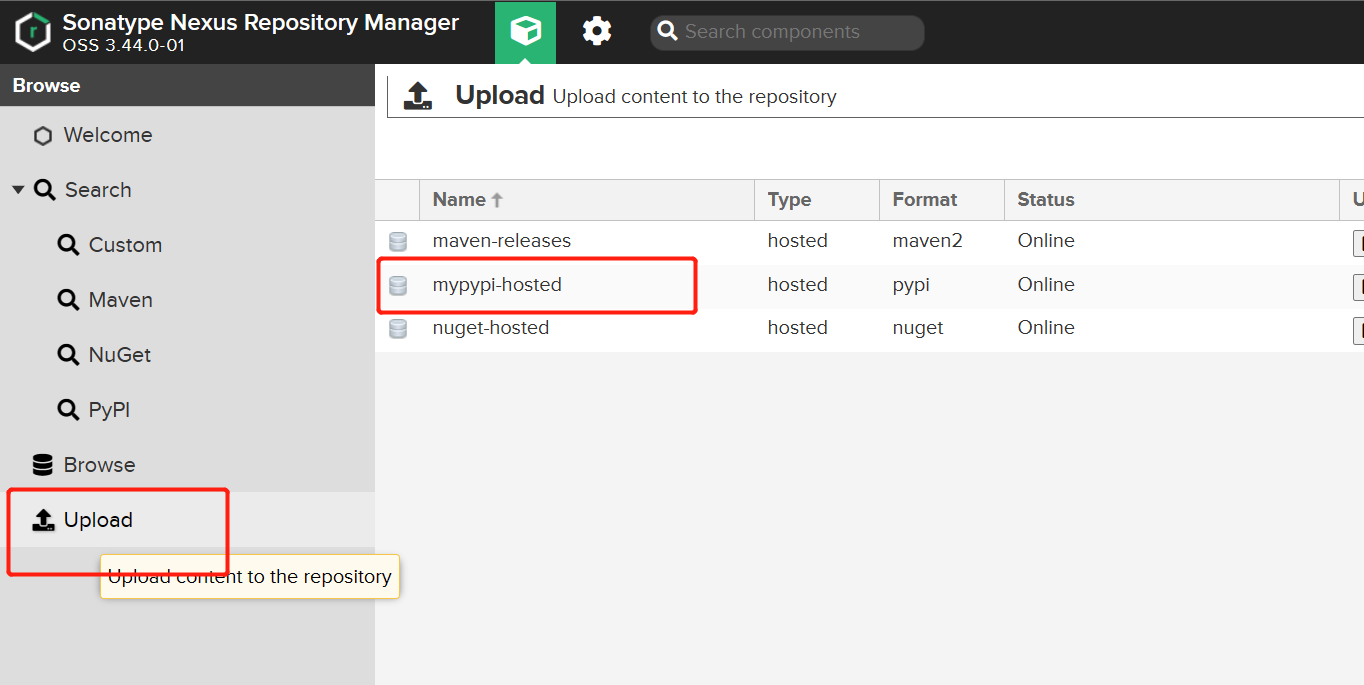
上传结果:
(3)下载地址要使用group仓库,后面也要加/simple
1 | pip install xxx -i http://localhost:8081/repository/mypypi-group/simple --trusted-host 127.0.0.1 |
先打包本地项目参考之前文章
https://mp.weixin.qq.com/s/X07JGIwlypGyjy-h3CMiHQ
参考链接:
(1)使用 Nexus 搭建 PyPi 私服及上传:
https://blog.csdn.net/m0_37607365/article/details/79998955
(2)setup规范 :
https://packaging.python.org/tutorials/distributing-packages/#setup-py
(3)twine使方法:
https://pypi.org/project/twine/
结束语:
今天的分享就到这里了,欢迎大家关注微信公众号”菜鸟童靴“
